Sewing Caddy
I started with a small cardboard open box. This was a cardboard insert from a packing box. When I see things like this, I save with the thought that one day it might come in handy. My husband thinks I'm mad, he say's I'm collecting junk, but look I've proven him wrong. I have used this piece of so called junk and turned it into a very useful item in deed.
The base of the sewing caddy is approximately 3.5inchs square. I trimmed down the sides to approx. 1/2inch. I only needed enough on the sides to help keep the shape.
The next step was to make the 4 triangle sides. I had to decide the height on which to make the caddy. The width was 4inch (includes 1/4inch seam allowance) and the height was 51/2inch (this allowed 1/4inch seam allowance on the 2 sides going into a point)
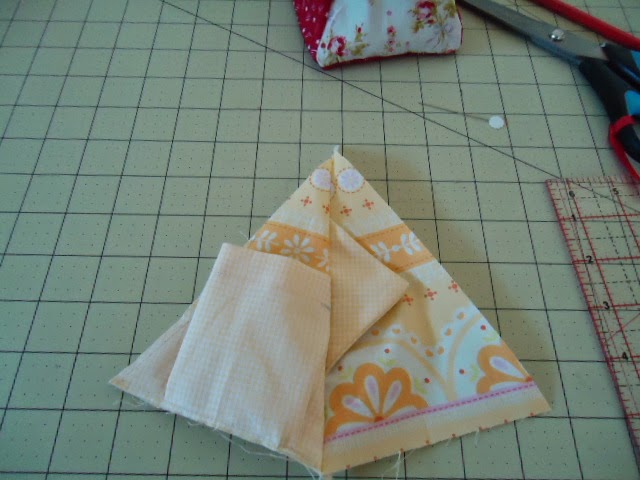
Before assembling I added pockets and tabs to the 4 sides. I used a contrasting colour of fabric using the same measurements as the triangle and attached to, 2 of the triangle sides creating a pocket. I used 2 x 3inch squares and folded in half and stitched then turned to right side to make the 2 smaller triangular tabs.
Hope you can understand my instructions, please refer to pictures below, I think they are self explanatory.
I then assembled the triangles together, making sure I attached a triangle with a tab against a triangle with a pocket. So when it's complete the pockets will be opposite & tabs will be opposite each other on the caddy.
Hope the pictures below help with explaining what I mean.
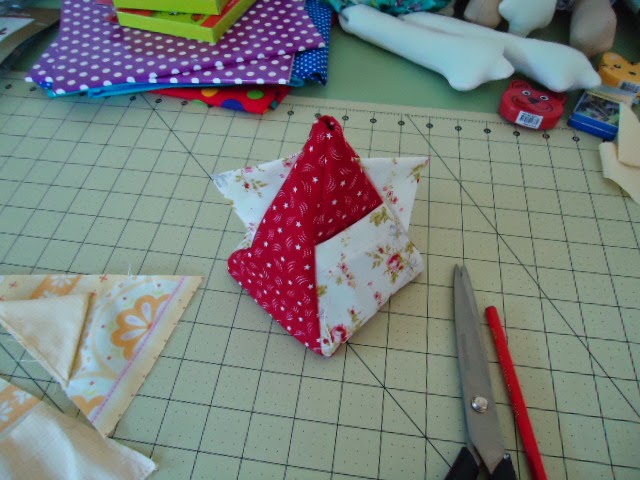
Using a 1/4inch seam allowance to join all 4 triangles together. As you can see from the picture below, the triangles get small at the top, due to going into a point. If you turn this to the right side you will see their is a small hole at the very top. Don't worry you will close this hole with the bead and tassel.
The next step with the triangles inside out I attached the square base stitching on 3 sides using a 1/4inch seam allowance. Then turn to right side and thread the bead onto the tassel and then thread through the hole at the top of the triangle and secure. Stuff with stuffing until it's 3/4 filled, insert the cardboard base and carefully fill, making sure not to over stuff and put out of shape. Once stuffed, slip stitch the 4th side of base.
The only thing left is to stitch down the tabs, I used a small bead.
I put a tape measure & packet of needles in the 2 pockets. And I put a stitch un-pick & scissors in the tabs. I also added a few pins around the top of the triangle.
The finished project.


